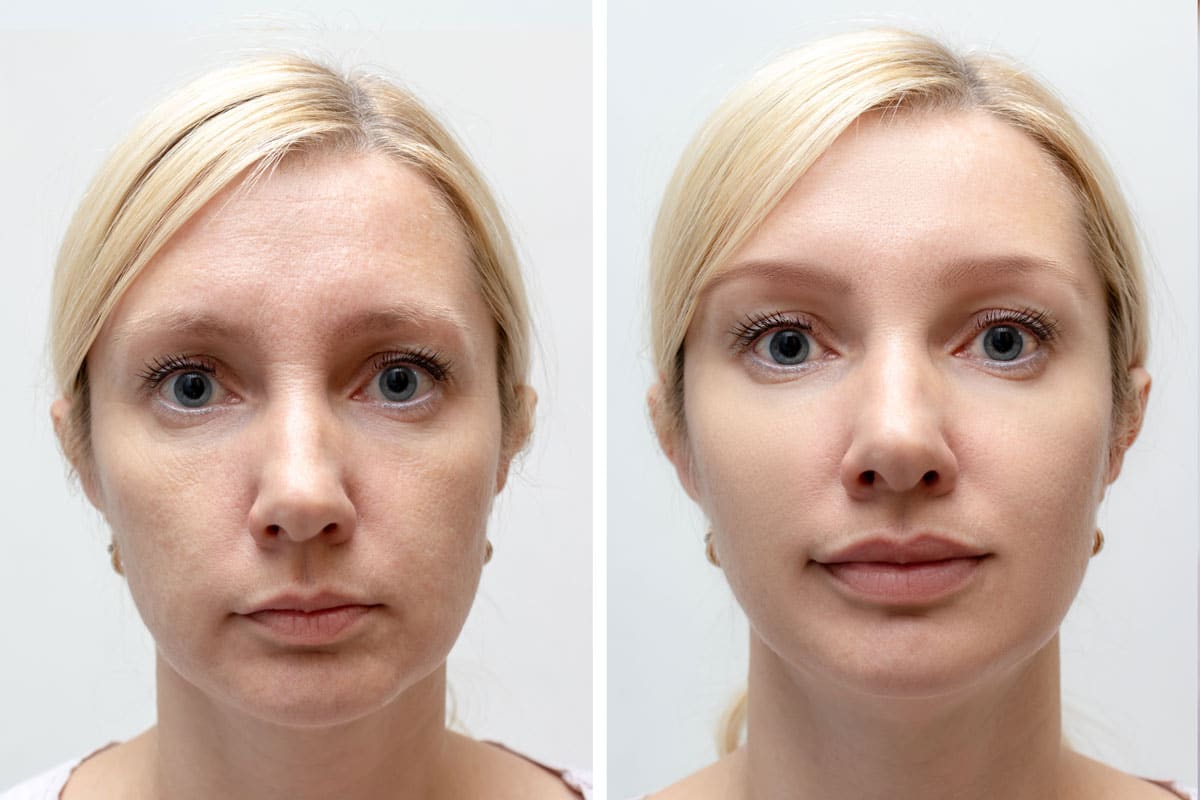
We’ve discussed previously about before and after photos and how they are an important part of your practice. They can be used to showcase and validate your work, and are crucial in showing a potential patient what to expect. When people are considering a treatment, the first thing they typically look at is photos, so having proof of your work is an important part of attracting new patients.
Taking good before and after pictures is the most critical part to ensure that they look authentic and realistic. You don’t want your pictures to look altered, fake, or inconsistent in any way. “False advertising” could be detrimental to your success and discredit you as a practitioner. Below are some tips on taking the best before and after photos.
- Consistent lighting – you want to ensure the lighting is consistent in each photo. Lighting can drastically improve the look of facial features if used incorrectly so by ensuring the lighting is consistent, your photos will appear authentic. You may not also want to use a flash because it can also alter and enhance the person’s appearance. There are alternative lighting options such as ring lights, or other attachments that can attach to your phone or tablet.
- Consistent posing – Make sure your patient is posing the same in each photo. Typically, you want your subject staring directly at the camera, not smiling or making any expressions. The subject should have no makeup on and their hair should be pulled back away from the face. Using a headband or wrap may be necessary. They should also have no jewelry and wear a shirt that is plain with no textures or designs. If possible, they should wear the same shirt in each photo, or something similar.
- Designated space – Make a designated spot in your office where you take all before and after photos for consistency. It should have a neutral background with no distracting elements.
- Equipment – it may be worth your money to invest in a high quality camera and other equipment. Tripods can help ensure you take all pictures from the same height, angle etc. Basic photography lights and umbrellas can help achieve optimal, consistent, and realistic lighting.
- Timing – Take photos before the procedure and at designated follow up appointments. Make sure to document and label each photo with products used and dates as well.
We have mentioned it before but you always need to get consent from the patient before taking and sharing any photos.
Once you have a collection of photos, you can use them in a wide variety of ways. Post them on your website, social media or digital ads. Include them in brochures, and other print materials. You can print them out and make a laminated book of images for patients to peruse while in the waiting room. There are so many things you can use the photos for and they are a great way to market your practice and show off your work.